How to Start Shooting Macro Photography: A Beginners Manual
If you’re looking to become a master of macro photography in your garden this year, we’ve got the top advice you’ll need to get going.
If you’re hoping to spend as much time outdoors as we are this spring and summer, you might be considering picking up a new hobby that you can enjoy al fresco. Shooting macro photography outdoors is fascinating as well as fun. With a little time and lots of practice, you’ll be able to record incredible details of the great outdoors that others may miss.
Pick Your Subject
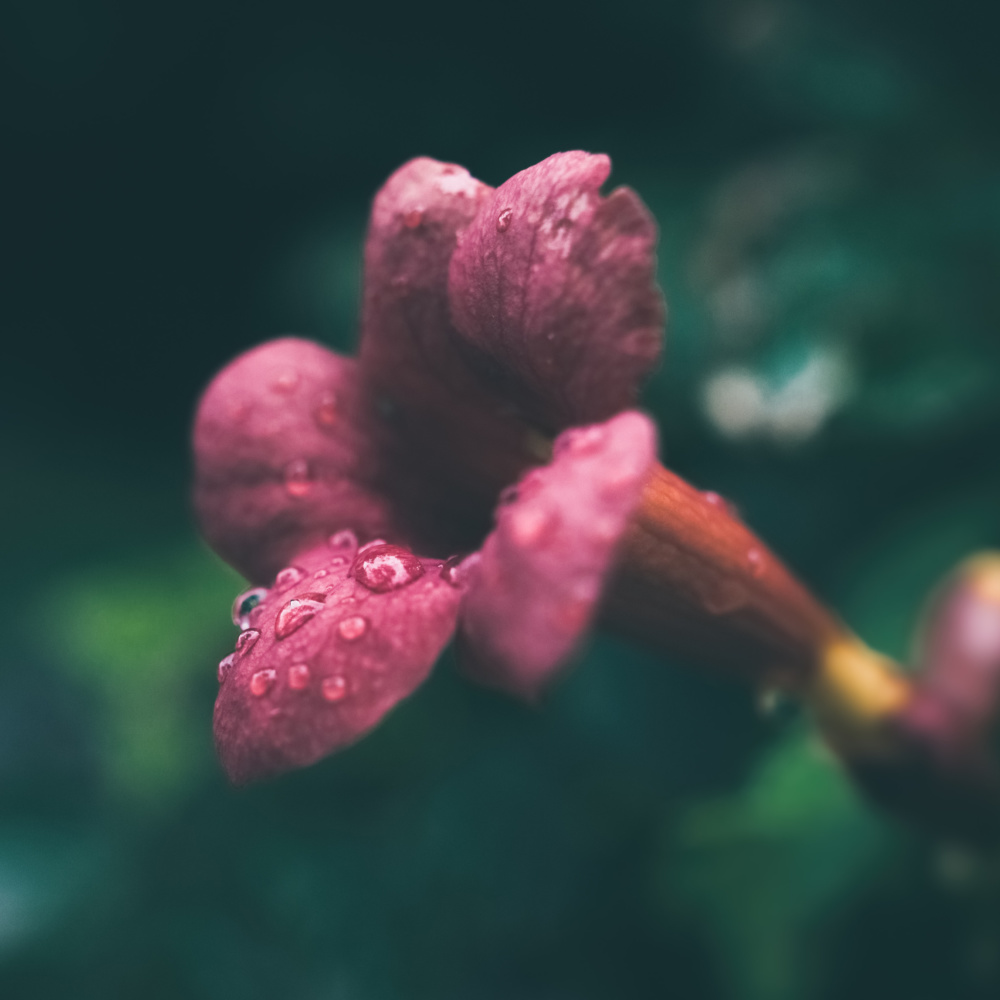
As Frida Kahlo was to Diego Rivera, your garden (and everything in it) is your muse. From the blades of grass to the veins of a petal and the bumbling bees, up close everything looks beautiful. Get ready to go rolling around in the mud, because as soon as you start seeing things with a macro eye, you’ll be crawling under bushes and scrambling through flowerbeds to get your next photo fix.
Camera Over Phone, Always
Whilst our phone cameras are more powerful than ever these days and our selfies are captured in great detail (perhaps a little too much detail, if we’re honest), in order to capture your garden in the highest quality, you’re best off using an actual camera. Practicality wise, with most phones you can’t physically get close enough to your subject for the lens to focus, as they’re not designed to capture that level of detail.
The debate will rumble on for eternity, but if you’re new to the camera world, we would recommend sticking to either a Canon or a Nikon model. The stalwarts of the photography world, a camera from either of these brands will set you off on the right track. If you opt for a compact or ‘point-and-shoot’ camera, these usually offer a built-in macro setting that will be an excellent way to automate the technicalities of shooting, whilst you get to grips with the style. An SLR (single-lens reflex) will be the style of camera you imagine when you think of a professional photographer – these cameras are designed to be used both automatically and manually and have the ability to switch lenses, meaning you can choose a perfect lens for macro photography and add equipment over time that will add to your macro expertise.
What’s Your Focus?
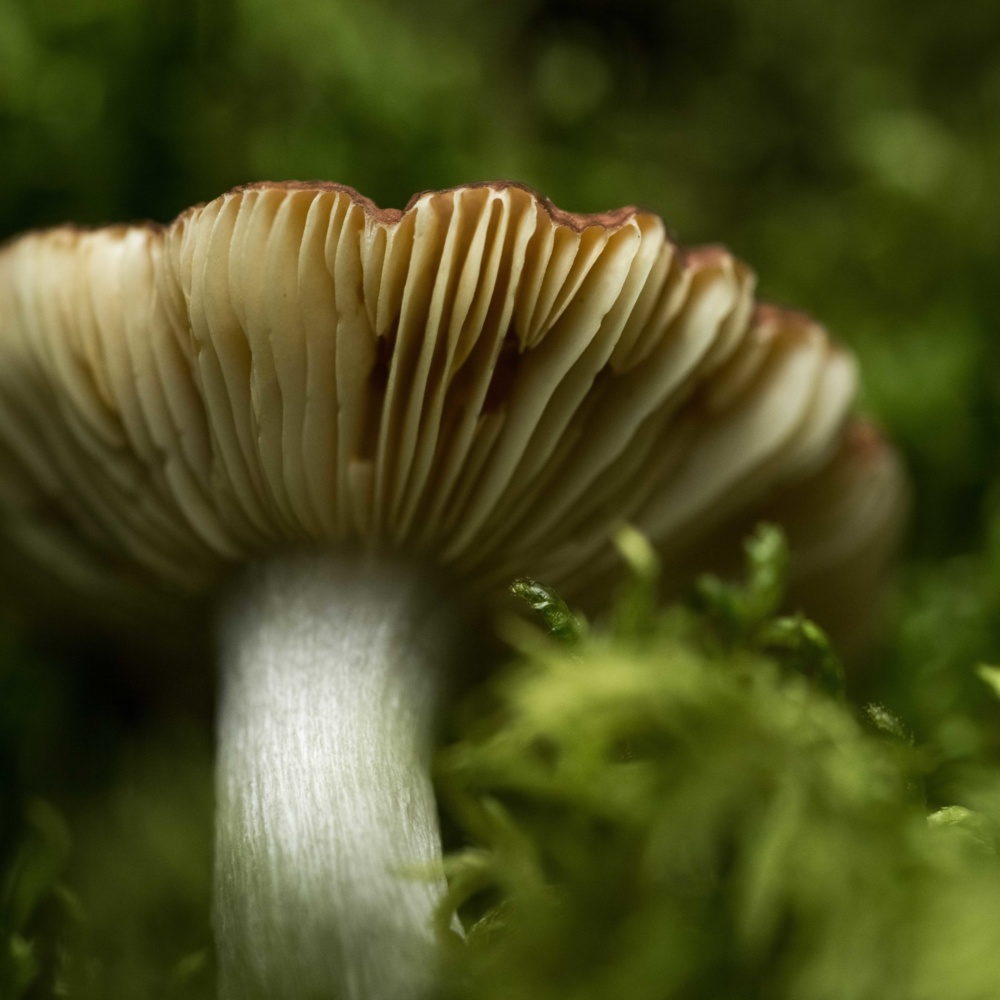
The depth of field is the distance between the closest and farthest objects in a photograph that appears acceptably sharp. Your camera can only focus sharply on one point, with the transition from sharp to unsharp usually being quite gradual on subjects such as landscapes or documentary style images. For macro photography and even styles like portraiture, the depth of field will be shallower, meaning the subject is in focus and the background is blurred. When photographing at a macro level, the focus should always be on the minute details – you don’t want items in the background distracting from the foreground. When using a point-and-shoot style camera, the macro programme with automatically adjust your settings, but if you’re using an SLR you will be best to manually change your focal length (or F-stop) to a lower number to achieve the pin-sharp-to-hazy effect. F/1.4 to F/2.8 would be ideal.
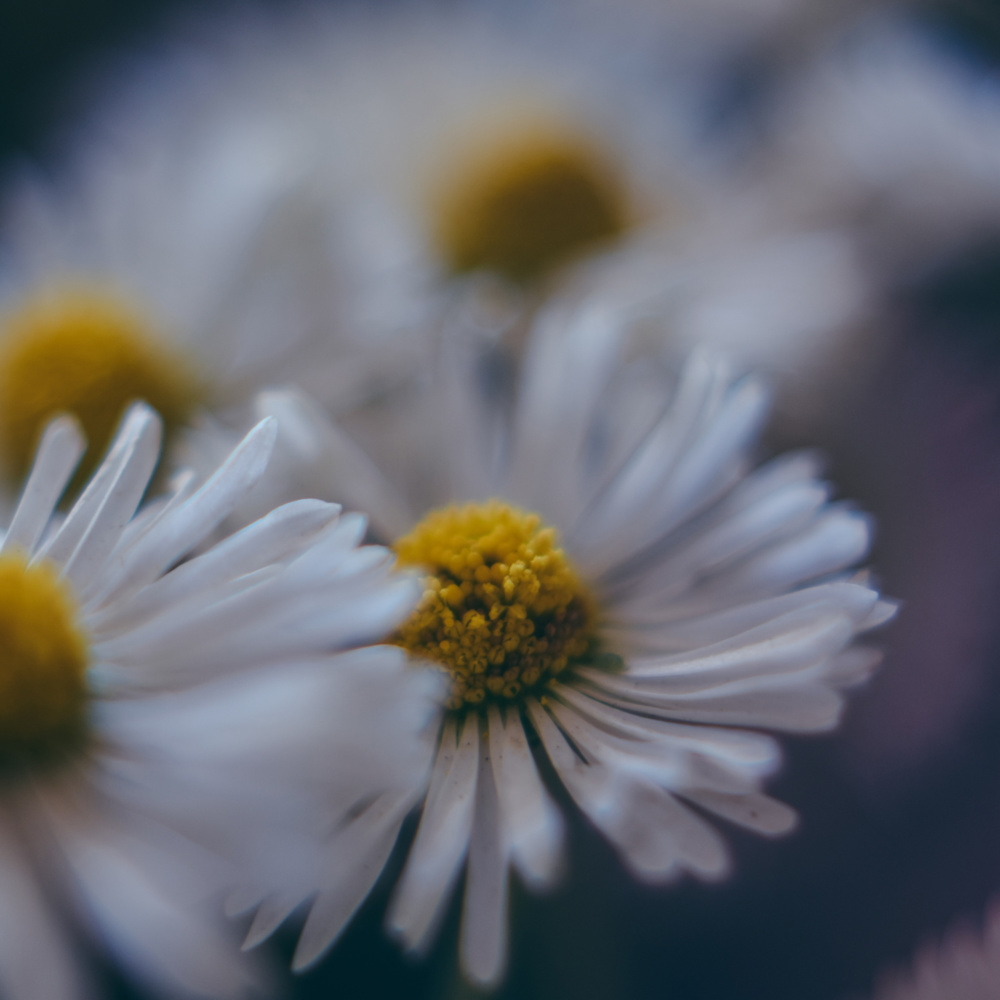
One thing to be mindful of when shooting at such a low F-stop is where you want your focus to be, which part of the image you want to be pin sharp. When shooting a daisy, for example, if you focus the lens on the petals that are nearest to you, the ones furthest away will be blurred, and vice-versa. It’s advisable when shooting so close-up to take time to shoot multiple points of focus. So, using our daisy example, you could take the first shot focussing on the petals closest to you, a second shot focussing on the petals furthest away and a third shot focussing on the centre of the daisy to ensure you’ve caught all points of focus. Later on, when you’re looking through your images on a larger computer screen you can choose which point of focus is most interesting and which will be the final image.
Light Light Light
The word photography literally means ‘drawing with light’. The word comes from the Greek words phos, meaning ‘light’, and graphê meaning ‘drawing or writing’, so whether you’re shooting macro, landscape or portrait photography, considering the light is all-important.
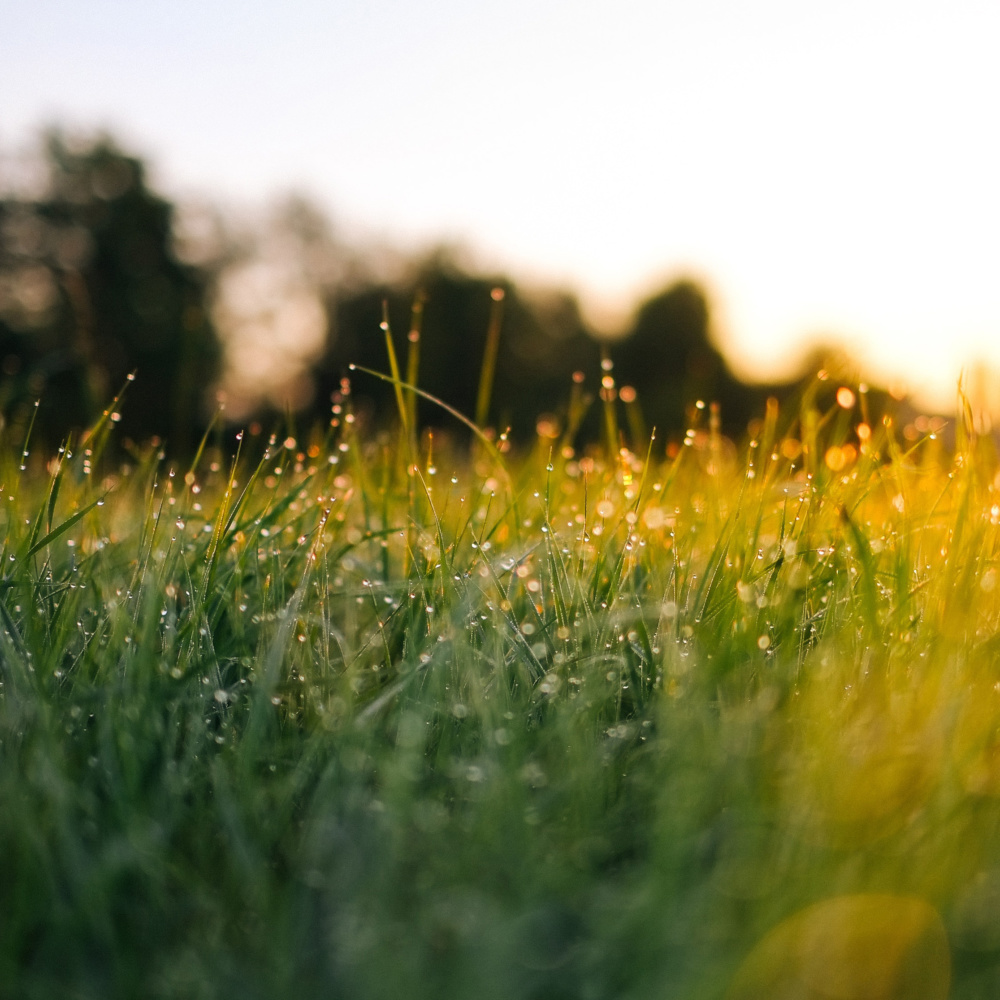
When shooting indoors you will have a greater chance to control the light and even set up a controlled, studio-like environment meaning you can take all the time in the world to shoot your subjects and get to grips with your camera. Out in the garden however, lighting conditions can be a little more… changeable! The ideal conditions to shoot al fresco would be a bright but hazy or overcast day. The clouds essentially act as a huge lightbox over the sun, evenly dispersing the light making for bright and stable lighting conditions. Don’t be fooled by a sunny day – harsh light and dark shadows make for difficult shooting conditions. Equally, on a day when there’s passing clouds, the lighting conditions can change almost minute to minute which can be difficult if you’re aiming for consistency with your shots. Passing clouds can also be tricky if you’re shooting on manual, as your camera settings will have to constantly be adjusted as the light changes from dark to light and back to dark. Windy conditions can also mean out of focus subjects – when starting out you’ll favour items that can keep still whilst you’re sorting your settings and focus.
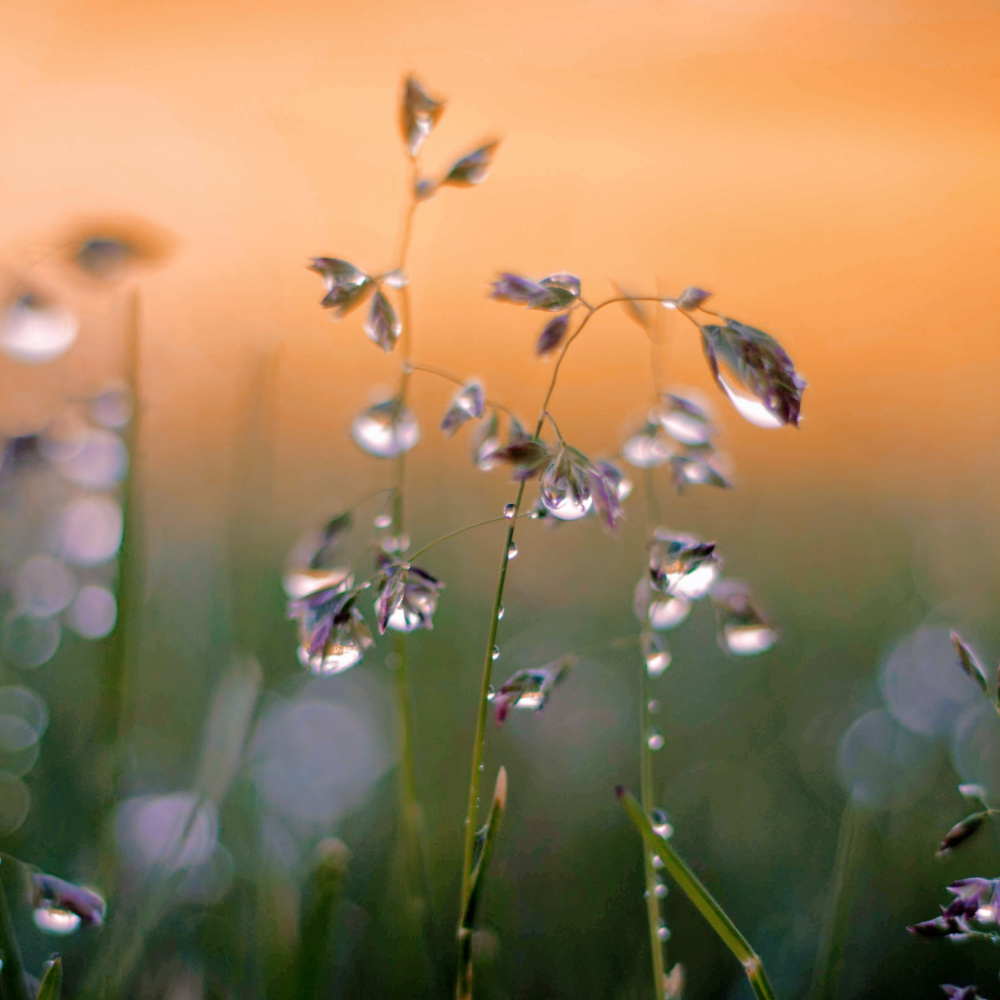
Golden hour is the most favourite time of day for nearly all photographers. Classed as the first hour after sunrise and the last hour of light before sunset, the sun casts a hazy golden glow over the landscape and produces a dream-quality of light. As this time period is so fleeting, it can be difficult to get to grips with the changes in light, but once you’re confident, you’ll capture some stunning shots with that lovely golden glow.
All About the Angles
The key to shooting an image that feels new is to experiment with the angles in which you’re shooting from. While you may be concentrating on one particular area of your subject, be mindful that if shot from the other side or from underneath it may bring a whole new perspective. Move around your subject, although do be mindful not to block your light source. Placing your light source behind your subject could lead to creative outcomes – picture the silhouette of a flower, or light showing through paper-thin leaves and illuminating the intricate veins.
Patience is a Virtue
As with most things, practice really does make perfect but additionally with macro photography, slowing things way down will help you to get to grips with the technicalities. Your main issue with shooting at such an intricate level of detail is going to be movement. As mentioned above, windy conditions can be a no-no to shoot outdoors, but even the slightest breeze can move your subject. After spending time adjusting your focus to get the exact details you intended to focus on pin sharp, a slight shift towards or away from the camera can mean you need to readjust your focal point. Don’t rush. Mounting your camera onto a tripod can be one way to slow down the pace and ensure consistency, but on the other hand using a tripod can be restrictive when experimenting with angles and searching out new and interesting perspectives.
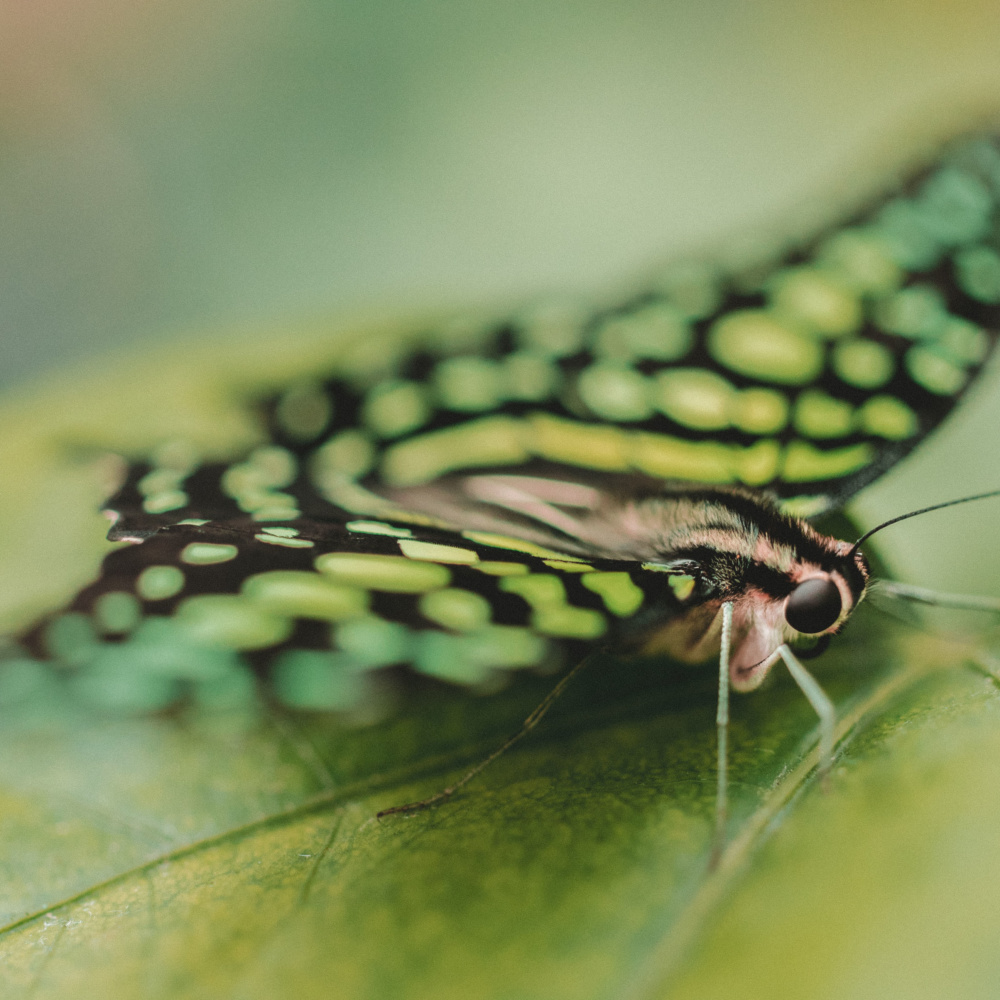
Once you’ve got your technique mastered, you’ll be able to shoot the wildlife that flitters in and out of your garden and have the confidence to shoot it quickly and in focus before it moves on to the next patch of paradise.

